Manage Incoming Emails in Google Workspace
Manage Incoming Emails: Follow our steps and manage incoming emails to your organization. Google Workspace is a business suite application that improves productivity and collaboration. The Google Workspace consists of applications like Gmail, Meet, calendar, sheets, docs, and Slides. Google Workspace is administrated by an administrator using the admin console. Every aspect is given control access to the applications and services. G-mail is the mail application built into the workspace. The business version of Gmail consists of additional features than the individual version. Gmail already has automatic spam filtering in addition the admin can manage spam mail. Manage Google Workspace emails by restricting certain IPs, and blocking emails. Admin can manage spam and allowed lists in Gmail.
Organizations send and receive many e-mails from their business clients. Spam mails are controlled in Google Workspace by the admin using spam filters in the settings. Google Workspace allows administrators to manage incoming emails received by their organization. Admin can block the senders using a deny list, allow list, or approved senders list.
How to Configure email allow list?
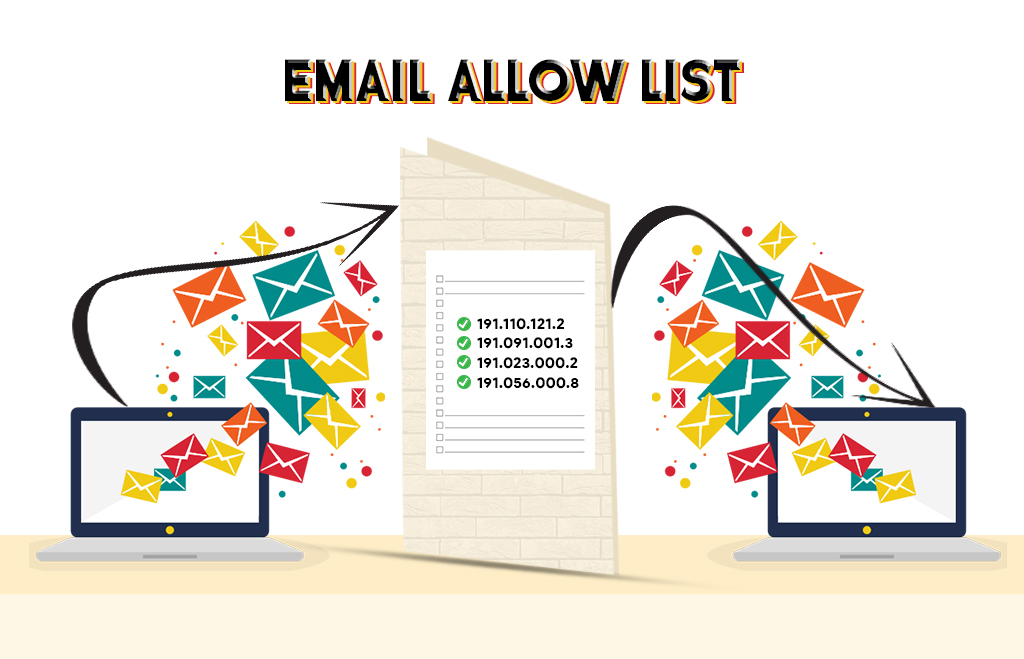
The allow list on Gmail is a list of the IP addresses the administrator defines. The admin defines a list of IP addresses approved to send e-mail to your domain. If Gmail shows a genuine message as spam, you can add that contact’s IP address to the e-mail allowed list. After that addition to the allowed list, messages from that IP address won’t be in the spam label. The email-allow list is applied to the entire domain.
The following settings help to prevent messages from specific senders from being marked as spam messages.
- Spam settings
- Approved sender list
- Inbound gateway setting

How to add the IP address to your allowed list?
- Sign in to your workspace administrator account.
- Log in to the Admin console, go to Menu > Apps > Google Workspace > Gmail >Spam, Phishing, and Malware.
- Select the top-level organization. (Your domain)
- On the Spam phishing and malware tab, scroll to the E-mail allow list setting Or the search field and enter the e-mail allow list.
- Enter the IP address of the sending mail servers you want to add to the allowed list.
- Click the Save button.
(To add more than one IP address, enter an IP range (using CIDR notation) or separate individual IP addresses with commas. Enter public IP addresses only and do not support private IP addresses).
How to Configure Email Blocklist / Denylist?
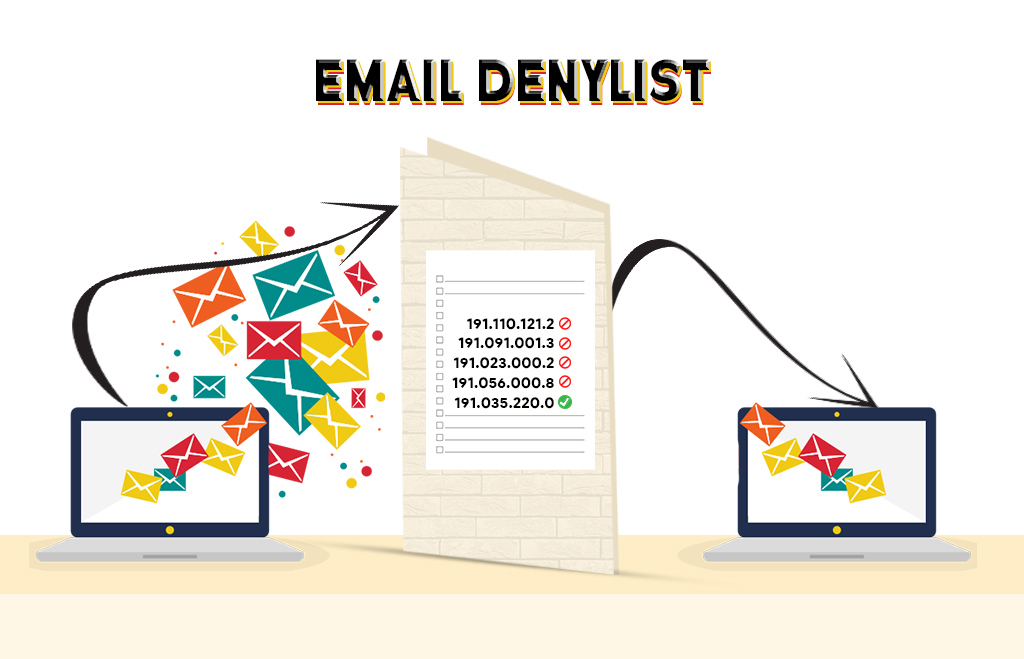
The E-mail Denylist is a list of e-mail addresses you block from sending mail to your organization. Admin can use the blocked sender’s settings to block domains or specific users. Users can create a filter in the mailbox to send messages from specific users or e-mail lists to the trash. Users should also report unwanted messages in Gmail. E-mail Denylist helps the Gmail spam filters identify future spam messages. If you have a lot of senders/domains to block, add and upload them to an address list.

How to create an address list?
- Open the Admin console.
- Go to Menu > Apps > Google Workspace > Gmail > Routing.
- On the Routing page, click Manage address lists.
- Click Add address list at the bottom of the address list table.
- Enter a name for the new list.
- To add one address at a time, click Add address and enter the e-mail address or domain.
- To add multiple addresses at once, click Bulk add addresses, and enter comma-separated addresses or domains.
- Click Add.
- Click Save in the Add address list box.
Changes you make can take up to 24 hours but typically happen more quickly.
Create a list from within a Gmail setting that uses an address list.
- Point to a setting that uses address lists
- Click Edit.
- In the Edit setting box, find the Address Lists option. For some gmail settings, click Show options to display the Address lists option.
- Select the Address Lists option, then click Create or edit list.
- The Manage address lists page opens in a new browser tab.
- Create an address list and return to the Edit setting box on the original browser tab.
How to configure a Google Workspace-approved senders list?
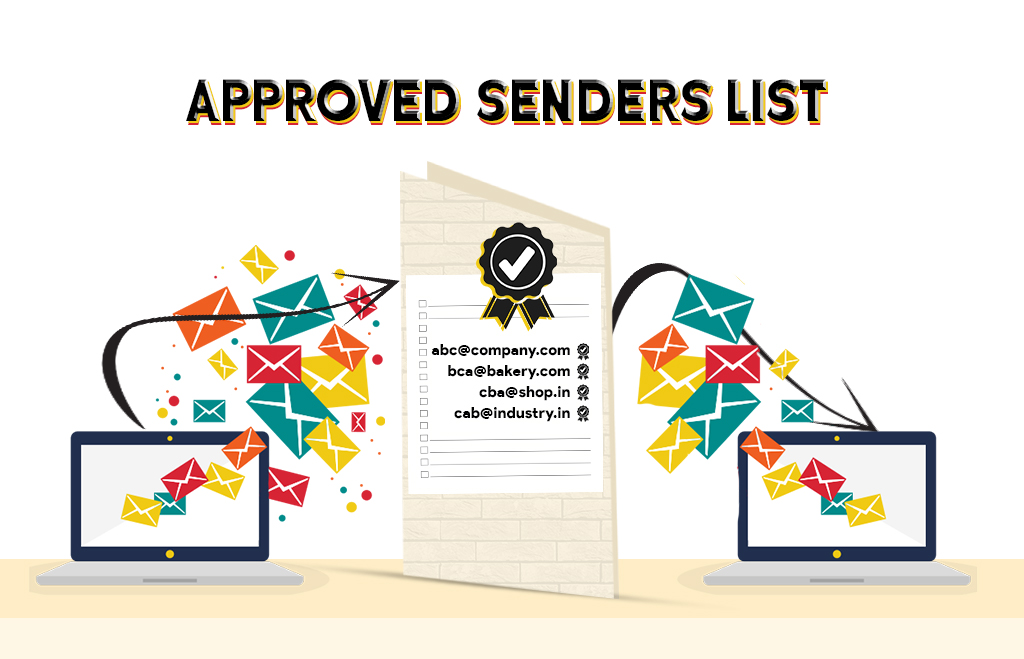
The approved sender list consists of trusted users. Use the approved sender list to get the mail from the approved senders. Create the address lists of approved senders to bypass Gmail filters. Create the list with individual mail addresses or add the entire domain. The recipient decides whether the mail is spam or not.

Hope you learned how to Manage Incoming Emails from the above steps. Follow the above steps and manage incoming emails to your organization.
Navo Hosting is one of the premium resellers of Google Workspace and web hosting services. We offer Google Workspace prices more affordable than others. Get enhanced technical support for the services available from us. To get the services offered by us get the details from us. Contact us to get more information about our service here.
Our services
- Google workspace
- Domain and hosting
- Website design

